


December 5, 2024 - realignment
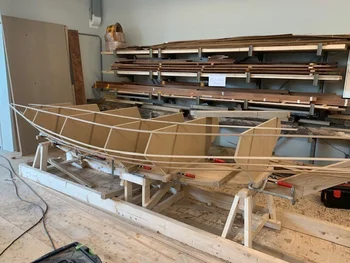
During our internship at the Maritime Museum in Rotterdam we learned a lot about how to properly shape a boat and how important it is to get the groundwork right. That is why we immediately checked all the jigs we had made and changed them where necessary during our first week back at school. Then we attached the stem and stern to the deck. Once that was all done, we could continue with the wood strips. The adjustments we made have also made the boat wider (6 cm on both sides).


May 27, 2024 - Make the surface neat again
After all the screws on the surface were removed, we cleaned everything up and sanded it again.


May 24, 2024 - making the plane
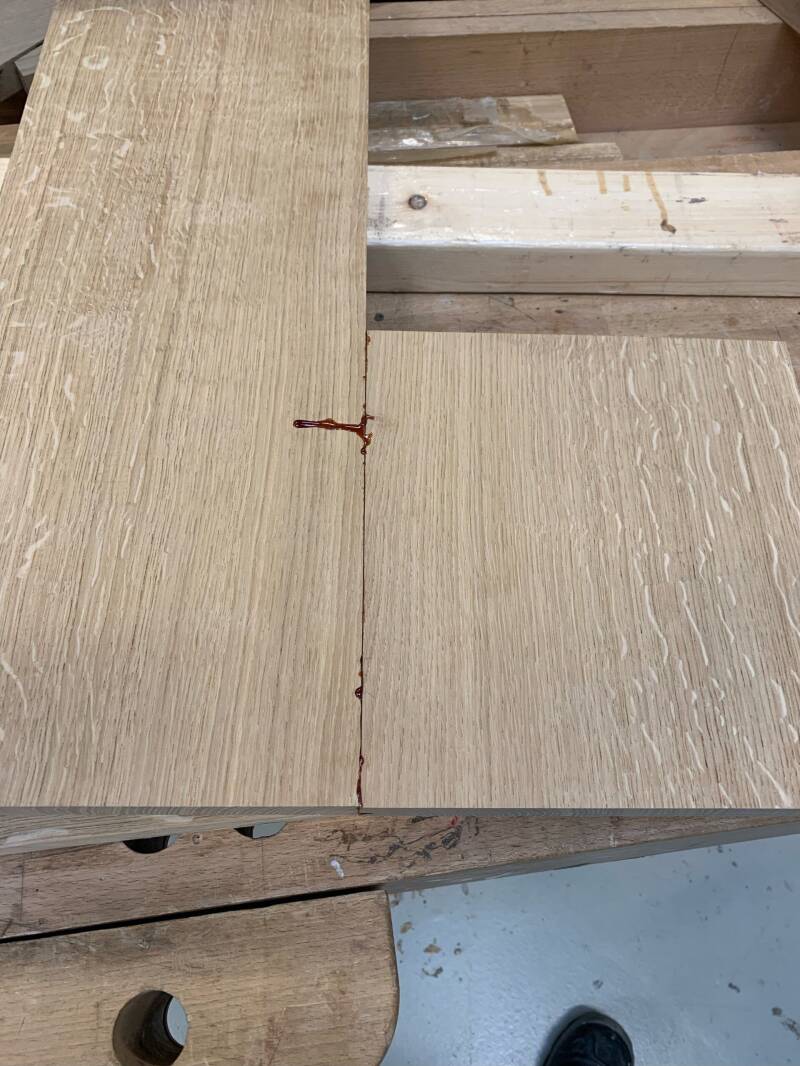
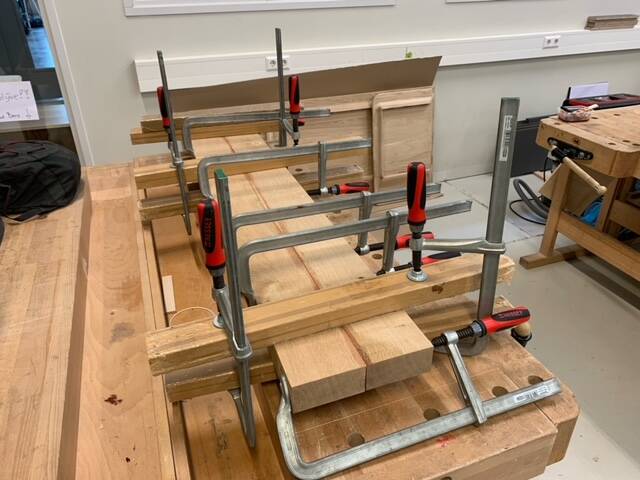
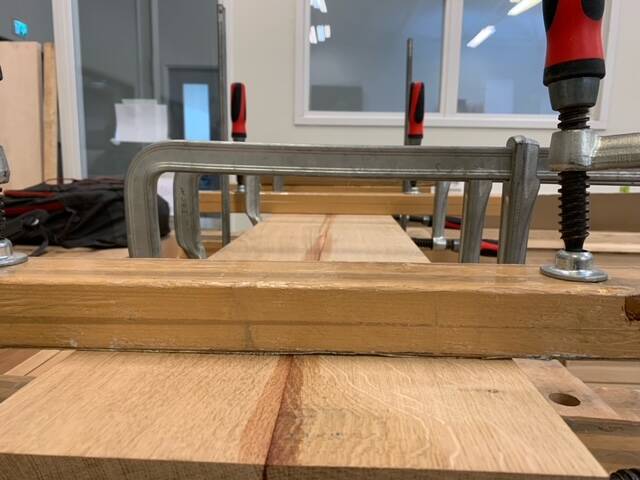
Now that we have 4 separate planks, we still have to attach them together. We do this using beams because there is no glue between the planks. Girders are beams that lie on the plane and hold it together. To attach the beams we use special screws, these have an extra wide head making them perfect for pulling everything together properly. In addition, there is also caulk, which gives extra strength to the whole and also ensures that no water can get between the beams and the surface. If that were to happen, the wood could rot. Once everything was secured, we sealed the holes with the screws using wood. We do this to prevent water from getting between the screw and the wood.


May 22, 2024 - Sawing the plane to shape
Now that we have all the planks ready for the plane, we just need to make it into the right shape. Because the shape is round, we have allowed the wood to protrude in certain places so that we can place clamps there. This way we can close all the seams. We first roughly sawed the planks with a jigsaw and then applied the correct shape with a plane.


May 8, 2024 - Add caulk to seam
We make a sloping edge between the planks of the plane to finally caulk the plane. Caulking is adding cotton or hemp between your planks. We do this to ensure that no water can leak into the boat.


April 24, 2024 - Getting rid of knots
A knot is a spot in a beam where a branch once grew and forms a weak point. Knots are also places where water can get in, causing it to rot from the inside. Some knots are even so large that they make holes in your beams. To solve this problem, we mill out all the knots and replace them with wooden covers. We drill small holes in the smaller knots and plug it with wood.


April 19, 2024 - Bending the lower deck test
The original construction drawing of the Hoogaars did not specify a thickness (or any measurements, for that matter), so we had to come up with that ourselves. What you usually employ for your lower deck is double the thickness of your hull . In our case, the hull is 2.3 cm thick and we opted for a deck thickness of 4 cm. The plane consists of four beams. Because we were not sure whether they could be bent into shape properly, we did a test with one beam. With the help of a lot of clamps and Lukas' weight with a few pairs of heavy beams, we managed to get it into shape.


April 17, 2024 - Customize beams for the surface
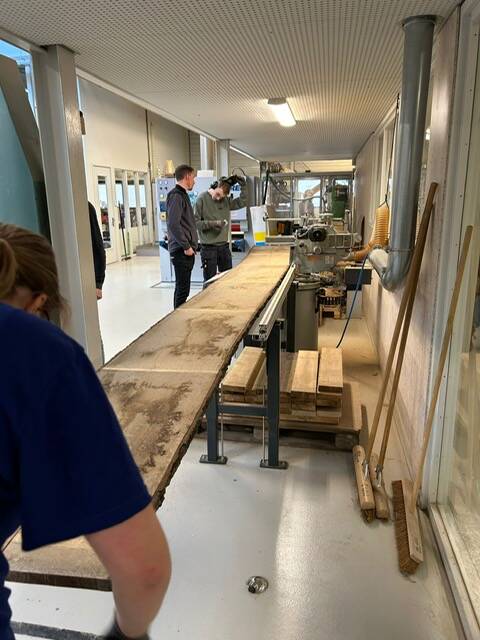
Today we tailored the beams that we bought from Frank Pouwer to the surface. We first ran these beams over the leveling machine to make them perfectly flat on one side. Then we used that flat side as a guide to make the other side perpendicular to it. Using the thicknesser we could then also flatten the two sides that are still coarse. This works the same as a leveling bench but takes something off the top instead of the bottom. Repeating this process for all four beams we made the coarse side nice and flat and parallel to the smooth side. The beams are 4.7 meters long. Since the machines at our school are designed for furniture makers who never need such a huge length, it was difficult to find a suitable machine with enough space in front of and behind it. After some measuring, we found a place where we could precisely machine the beam. The beams are each 25 cm wide and 4 cm thick.


April 10, 2024 - Getting the room ready
Now that the graduating classes of 2024 have completed and taken their boats, we can finally enter the classroom with our project. This is where we will have our practical hours for the rest of our studies. Stages were once built in the classrooms on which we can attach the construction bed. Unfortunately, drilling into the concrete floor is prohibited, which is why the podiums are placed on the floor. Now this is not a disaster, but a lot of dust has accumulated under it over the years. As a result, the floor was no longer even and not level. That's why we decided to open up the floor and re-lay it.


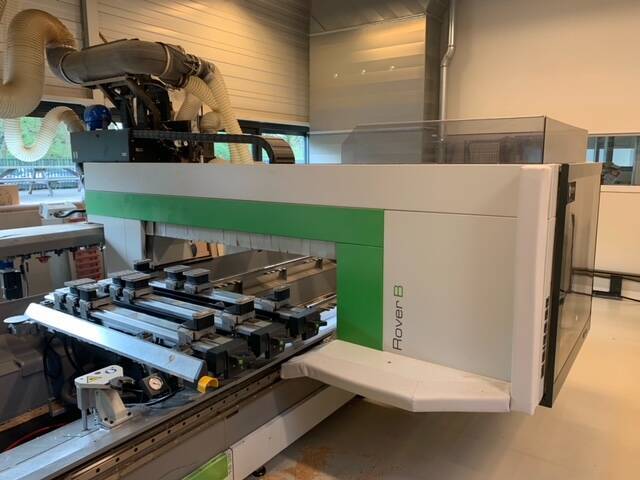
This is the CNC machine we used

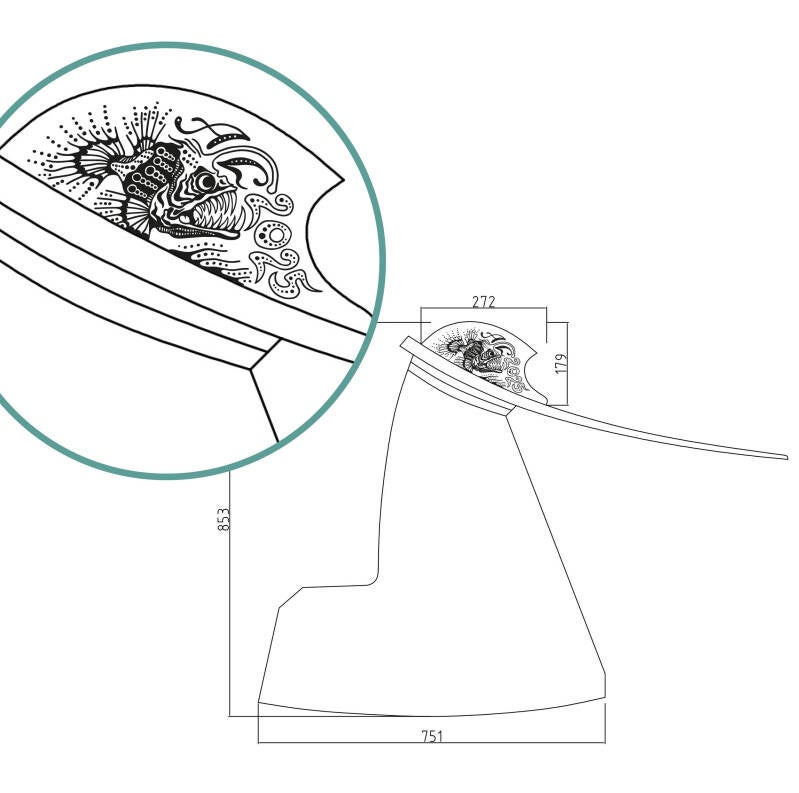
April 4 - finishing the rudder - CNC work After we'd assembled all the parts of the rudder, we still had to give it its final shape. We did this with the help of the CNC, a CNC is a computer-controlled milling machine. These machines are super precise and fast. Axel therefore made drawings that we used to control the CNC. we also milled the construction molds that we will use to define the shape the boat. After we the rudder was shaped, we sanded it and applied a thinned layer of lacquer. We did this as quickly as possible to retain the moisture that will remain in the wood because when wood dries out, it shrinks, cracks and deforms. By putting varnish on it, it cannot lose moisture, so our hard work is not in vain.

This is what the rudder looked like before we milled it


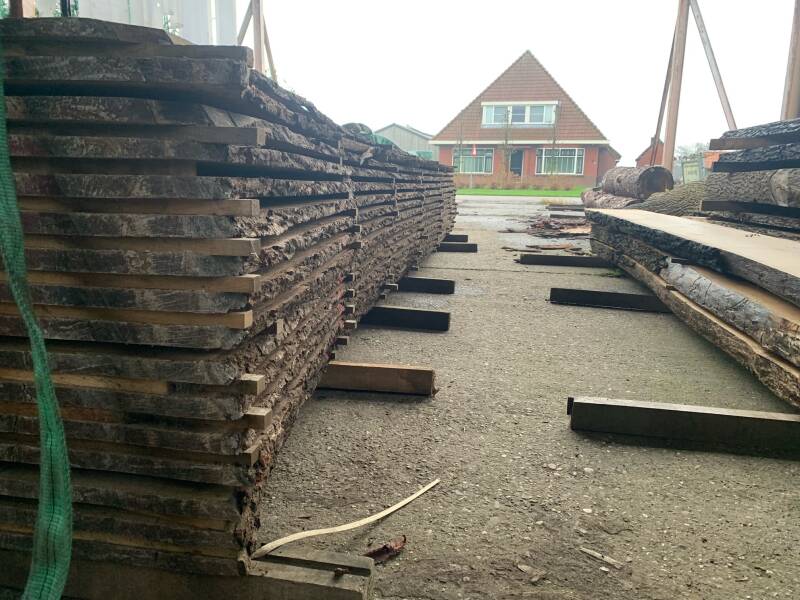
March 26 - view wood at Frank Pouwer
In between all the building we went to the Frank Pouwer timber yard to look at the wood. we still needed wood for the mast and the plane of the boat. the surface is the bottom of the ship, which must be thicker to prevent wear. We were helped there by the employees and Frank himself. they normally supply rustic wood which is often used in construction to give it an old fashioned look or in furniture. We chose Frank Pouwer because they have very unique sizes of wood and they are very well priced for the quality and service you get. In addition, they have a delivery time of 1-3 weeks, so you don't have to wait long for your wood.


March 14, 2023 - the beginning of the helm We have started making the rudder because we cannot start building the rest of the ship yet. We're making the rudder from one of the two heart planks from the tree that we bought earlier. A heart plank is a plank that comes from the core of the tree. A tree has a kind of artery in the middle which it uses to transport water from the ground up. For that reason it is not waterproof and there is a greater chance that it will tear at that point. We can therefore use these planks to make the rudder and centreboards, as long as we saw out the heart. In the photos below you can see how we sawed the large plank into pieces and ultimately make the rudder.


March 12, 2023 - the making of the stem and sternpost On the fore and aft side of our ship we have 2 beams, called stem and sternpost, that go from the plane (the bottom of the ship) to the top edge of the ship. These components are very important as all the planks in the hull will be lodged in them. We had to make these beams from 2 parts because it is difficult to find beams of wood with the correct width and thickness. We glued this connection with Resorcine glue. We chose this glue over epoxy because epoxy sometimes does not get a good bond with oak. We will add stainless steel threads at a later date to strengthen the beams. In the left photo you see Axel making the beams flat and perpendicular and then working on the width and thickness. we use a leveling machine for this.


Maak jouw eigen website met JouwWeb